✨ How to Use Framer Overrides & Code Components (No Coding Needed)
Framer Overrides and Code Components allow you to go beyond the basics and bring powerful, reusable effects to your projects — all without needing to write code from scratch.
Let’s break it down step by step.
🔁 Using Framer Overrides (In 3 Simple Steps)
Overrides are code snippets that add interactivity, animations, or behaviors to elements in Framer. Think of them like plug-and-play enhancements.
1. Copy the Code
Start by copying the override snippet you want to use. You’ll find these on FramerOverrides or from other trusted sources.
2. Create a New Code File in Framer
- Open your project in Framer
- Go to the Assets panel or select an element
- Click the
+button to create a new code file - Paste the override code
- Save using CMD+S (Mac) or CTRL+S (Windows)
3. Apply the Override
- Select the element (like a button, frame, or image)
- In the properties panel, find the code override you created (e.g.
Confetti) - Select the function (e.g.
withConfettiEffect) - Done! You’ll see the effect in Preview or Live View.
Note: Overrides won’t appear on the static canvas — they only show up in preview or published mode.
📌 Tips for Using Overrides
- Apply overrides to frames around elements, not to icons or images directly.
- Avoid renaming overrides after applying them — it may break the connection.
- Some effects may require special setup (e.g., time delays or user interactions).
- Overrides don’t always play nice with third-party icon sets — wrap them in a frame first.
💡 Why Use Overrides Instead of Variants?
Framer’s built-in tools are great — but for specific effects (like showing the current time, mouse tracking, or confetti), you’d need tons of variants and duplicate components.
Overrides solve that by letting you:
- Add an effect once and reuse it anywhere
- Easily tweak behavior (like hover scale from 105% to 120%)
- Avoid bloated files filled with variants
✅ Benefits of Using Overrides
- 💡 Add unique effects not possible in the Framer interface
- 🧼 Keep your design files cleaner and more organized
- ⚙️ Apply one effect across multiple elements in seconds
- 🪄 Tweak settings globally instead of editing each variant
- 🔁 Reuse overrides across projects
- 🧰 Improve your workflow with flexible, scalable enhancements
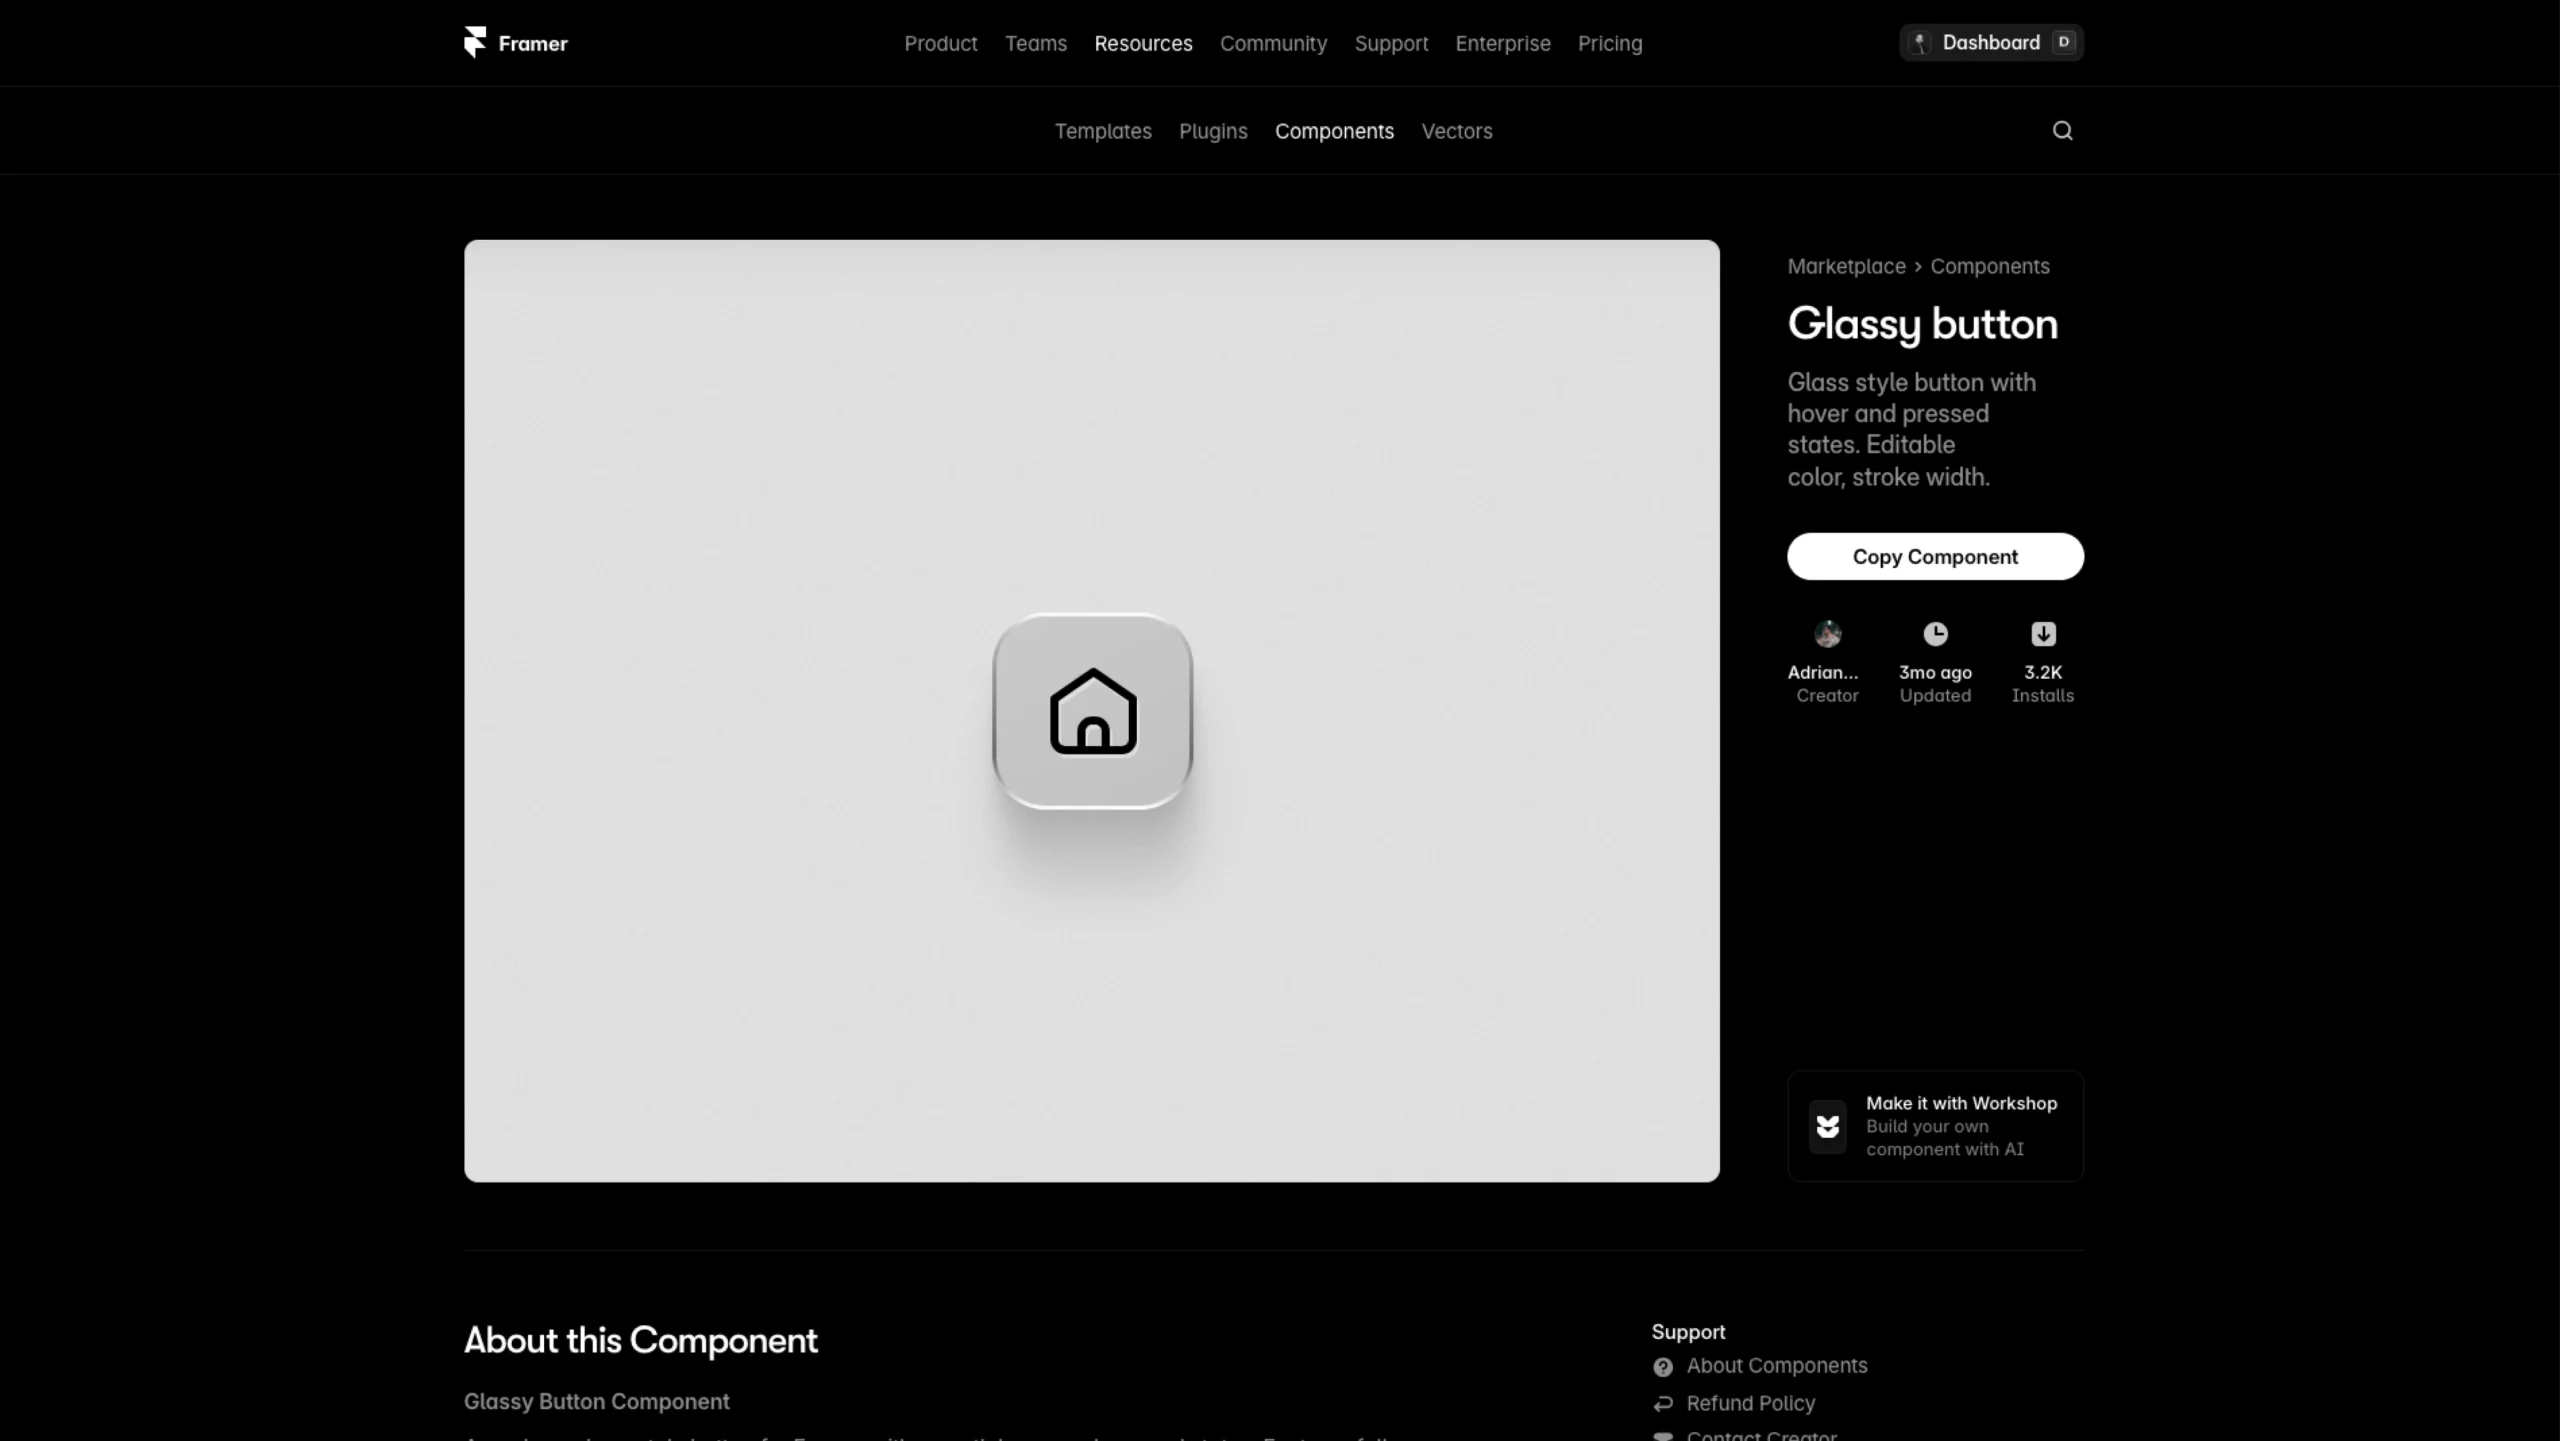
🧩 Using Framer Code Components (Also in 3 Steps)
Code components are like custom blocks you can drop into your designs. Unlike overrides, they don’t depend on existing elements — they come with their own structure and settings.
1. Copy the Component Link
Each code component has its own URL. Example:https://framer.com/m/Matrix-a2vM.js
Just copy the link to your clipboard.
2. Paste the Link into Framer
Anywhere in your Framer project, paste the link on the canvas or in the assets panel. The component will appear and load automatically.
3. Customize It
Use the Properties panel to adjust any available settings (color, size, animation type, etc.). Components are built to be flexible.
And that’s it — your component is live and ready to go.
🧠 Overrides vs. Components — What’s the Difference?
- Overrides modify existing elements (like adding hover effects or interactivity)
- Components are standalone, pre-coded blocks with built-in design and functionality.
Both are powerful. Use them together to create smarter, faster, and more dynamic Framer websites.